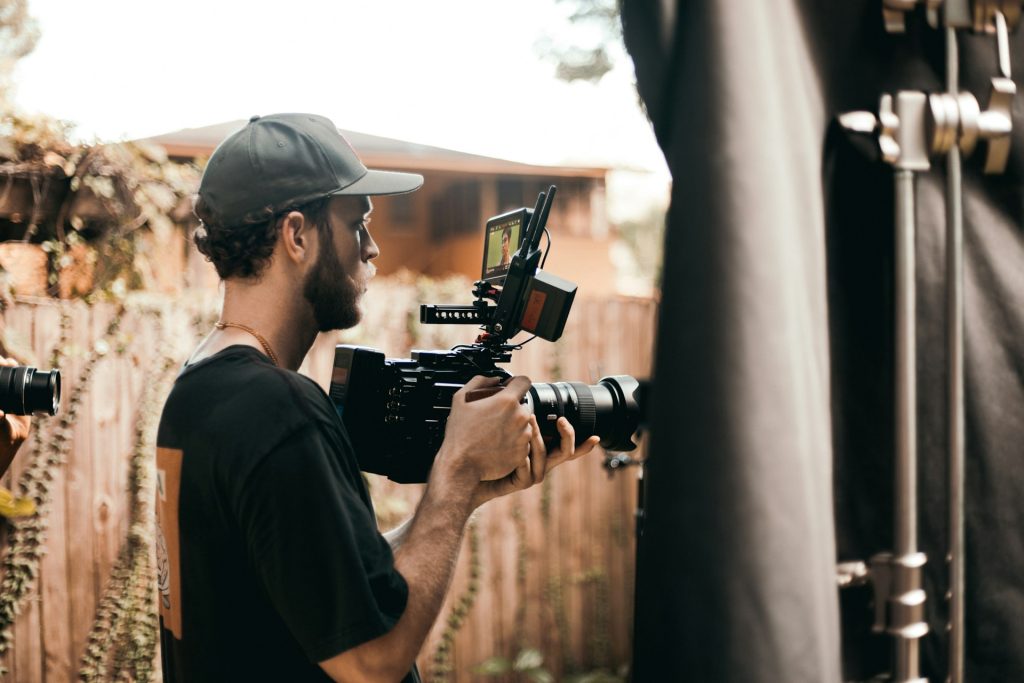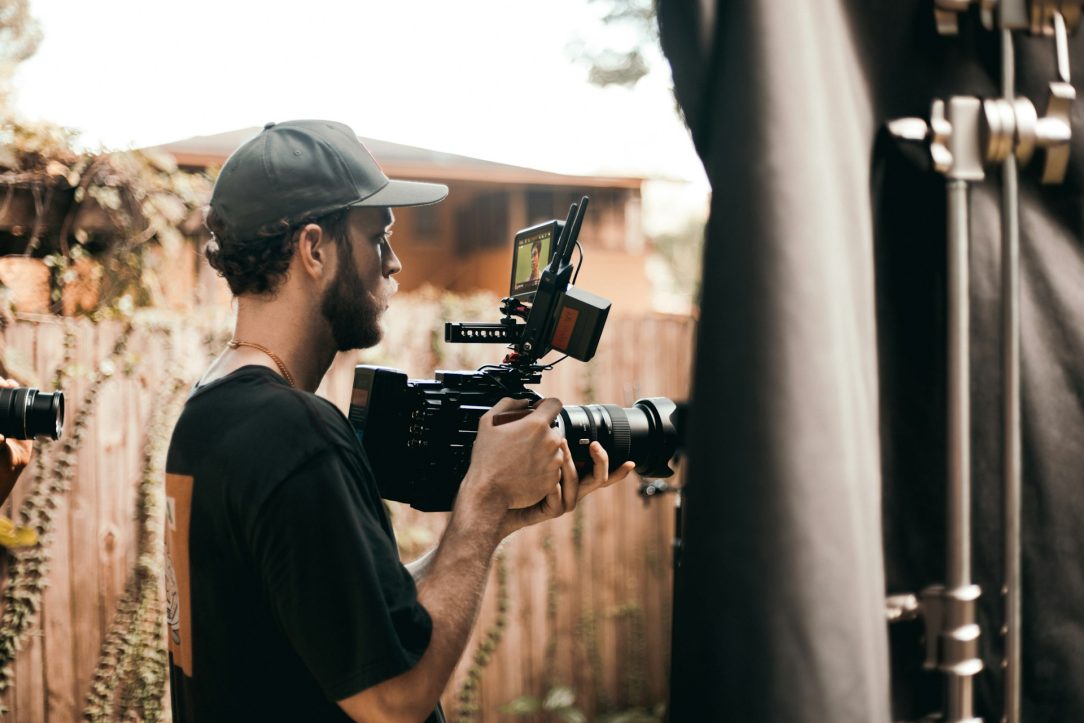
Camera movement plays a big role in how a film feels. It can add drama, reveal emotion, build tension, or guide the viewer’s focus. But for new filmmakers, the idea of moving a camera on purpose and doing it well can cause a lot of confusion. Coming into film school or a training program, many students get the basics of storytelling down but run into problems when it’s time to bring stories to life visually. Often it’s not about having the latest equipment. It’s about how you use the tools you already have to support the story.
The truth is that many beginner filmmakers jump into using different camera moves without fully understanding what they communicate. Some movements can draw viewers deeper into a scene, while others may distract if they’re done without intention. Knowing the difference between moving the camera for style versus moving it for story can make a big difference in your final project. Here, we break down the most common camera movements and what new filmmakers tend to get wrong, so you can start using them with more control and confidence.
Understanding Basic Camera Movements Techniques
Before anyone picks up a camera and starts shooting scenes, it’s important to understand what each movement does. These are the building blocks of visual storytelling. A smooth camera move isn’t just about looking cool. It’s about guiding your audience and shaping how they understand what’s happening onscreen.
Here are some of the basic camera movements beginner filmmakers should know:
– Pan – A horizontal swivel from left to right or right to left. It’s often used to follow action, reveal new information, or establish a setting.
– Tilt – A vertical motion that moves up or down. It works well to show tall buildings, rising tension, or to reveal something unexpected.
– Dolly – This involves moving the entire camera forward or backward, usually on a track or wheeled setup. It gives depth to the scene and helps the viewer feel like they’re physically moving into or away from a subject.
– Zoom – Instead of moving the camera, the lens zooms in or out. This should be used carefully, as it feels different than a dolly and can sometimes feel unnatural if not motivated by the scene.
– Handheld – This adds a shaky and raw feeling, which can work well for action or emotional scenes where you want the camera to feel like an observer in the moment.
Each of these movements has its own impact when used with purpose. For example, in a tense moment of a short film, a slow inward dolly toward a character’s face can signal emotions building up. But if you’re zooming in with the lens instead of moving the camera physically, it will create a very different feeling—almost like you’re watching from a distance instead of creeping into their space. That difference matters more than most beginners realize.
Getting comfortable with these moves means doing more than just reading about them. Watch how they’re used in movies you enjoy. Pause and ask yourself: Why did the camera move there? What did I feel when it did? The sooner you start connecting feeling and motion, the closer you’ll be to using camera movements in ways that really serve your story.
Common Misinterpretations of Camera Movements Techniques
New filmmakers often confuse movement with meaning. Just because the camera moves doesn’t always mean the scene improves. Sometimes a simple pan or tilt is fine, yet it gets replaced with a quick zoom or dramatic dolly that doesn’t match the tone. This mismatch pulls the viewer out of the story instead of bringing them deeper into it.
One common mix-up is between the zoom and the dolly. While they may both bring the subject closer, they have different effects. A dolly creates a sense of physical movement through space, which can immerse the audience or build intensity. A zoom, on the other hand, feels more like a sudden shift in focus with less emotional pull. When a character is going through something personal, a dolly-in can make the audience feel like they’re stepping into that moment. A zoom might just feel cold or mechanical if used without purpose.
Another issue is overusing handheld shots. Many new filmmakers lean on this style to capture energy or realism. But when every scene is handheld, it stops having impact. That shaky feel should underline something urgent or unsettled. If you’re using it for casual dialogue scenes or static moments, it can send mixed messages.
Here’s one example. A student working on a short scene had a character enter a quiet room and reflect on a photo. Instead of using a slow dolly or static shot, they handheld the camera in tight on the character’s face. The result felt chaotic, even though the mood was supposed to be calm and reflective. After watching it back, the student realized the movement fought against the emotion of the scene. A more stable movement would’ve supported the mood better.
Understanding the emotion behind each movement helps you make smarter choices. Once you know what a camera move says to the audience, you’re less likely to confuse or overwhelm them without meaning to.
Creative Uses of Camera Movements Techniques in Storytelling
Once you’ve learned the basics and avoided the usual mistakes, there’s room to start getting creative. Camera movements can say a lot without a single word being spoken. You can use movement to show how a character feels, to reveal something hidden, or to connect two moments in a subtle way.
For example, combining a pan and a dolly can create a move that both travels and reveals more information at once. You might use a soft dolly while panning to pull your audience across a space, focusing them on small changes in a room or highlighting a relationship between two characters. Done right, these moves feel fluid and natural, even if they’re planned out frame-by-frame.
Experimenting with speed is another way to shift tone. A slow, creeping dolly toward a character can say something completely different than a fast push-in. The first might create tension or curiosity. The second might show panic or surprise. Motion isn’t just about direction. It’s also about pacing.
Try layering focal changes or staging movement where subjects cross paths mid-shot. Work with lighting and blocking to make the movement part of the world instead of something separate from it.
If you’re unsure where to start, re-watch a movie with camera movements in mind. Pick a scene and study how the camera behaves. Does it move when the character makes a choice? Does it stop when something sinks in emotionally? These moments, when noticed closely, can inspire your own creative choices.
Camera Movement Practice Exercises for Learning Filmmaking
Understanding ideas is good, but practice builds skill. If you’re learning filmmaking in Los Angeles or anywhere else, set aside time for hands-on experimentation. The more you try out different moves, the clearer their impact will become. Here are a few simple exercises to sharpen your sense of motion in storytelling:
1. Point-to-point practice
Pick two focal points in a space, like a doorway and a window. Practice slowly panning or dollying between the two. Record it, watch it back, and decide what kind of emotion it creates. Calm? Curious? Unsettling?
2. Emotion match test
Use a friend or actor and record the same monologue three times using three different camera movements: static, dolly-in, and handheld. After reviewing, ask what version feels most honest and why.
3. Tracking environments
Walk through a room with a handheld camera, but follow an imaginary character or action. Later, try again using a tripod and track, then compare the mood and control. This shows how the same space can feel totally different depending on how it’s filmed.
4. Slow/fast contrast drill
Film a simple object, like a cup on a table, using two speeds: one slow crawl in, one zoom burst. Study how each speed shifts viewer focus. The object stays the same, but your style changes the feeling.
5. Match scene to mood
Take a familiar script or write a short 30-second scene. Choose the camera movement first before filming. Does a zoom do what you want? Or does a tilt serve the story better? Let the shot guide the storytelling, and not the other way around.
Doing these exercises will build your confidence and sharpen your point of view. Not every experiment will work the way you expect. But understanding why something didn’t work is just as useful.
Keep Finding the Right Movement for the Moment
Camera movement is more than motion. It’s about intention. When new filmmakers in Los Angeles or anywhere else understand what a movement communicates, they begin to use it more thoughtfully. Maybe you want to hint at unease or pull a viewer into a subject’s mindset. The camera can do that just as much as a line of dialogue or a sound cue, if not more.
Learning how and when to move the camera takes time. It’s a mix of technical skill and emotional awareness. It doesn’t mean overloading every scene with dramatic shots. It means choosing the right type of motion at the right time. A small pan can feel more powerful than a full dolly if the timing and reason behind it make sense.
As you keep building your filmmaking craft, continue asking yourself what a move adds. Does it support your scene? Does it distract from the performance? When your camera movement feels invisible but meaningful, then you’re on the right path.
Keep experimenting, watching, and adjusting. The more you practice pairing motion with emotion, the more you’ll find your voice as a filmmaker.
To truly master storytelling techniques, consider further honing your skills with hands-on learning opportunities. If you want to learn filmmaking and develop a deeper understanding of how to use camera movements effectively, explore our offerings at Los Angeles Acting Conservatory. Dive into our comprehensive program designed to enhance your craft and elevate your filmmaking journey.

